

Ten wpis jest również dostępny w języku:
 Polski
Hi! 👋
Before your first trip to Tokyo, the transport map can look a little intimidating. Several operators, loads of lines, trains, subways, buses, letter and number codes, plus stations that can be the size of a small shopping centre on their own.
Once we were there, it turned out that most of that fear disappears after the first few rides. The important thing is to understand a few basics: not everything that runs through Tokyo is a subway, Suica or PASMO takes care of most payments, and when planning journeys it is much more important to look at the operator, platform and correct station exit than to memorise the lines.
We used public transport practically every day during our entire stay. We travelled around Tokyo itself, also used it to get to Saitama, and after a few days, transfers between JR, Tokyo Metro and Toei stopped looking like something that required an instruction manual.
In this post, we are bringing together the things that will be useful during your first stay. How Suica works, how the operators differ, how to read station signs, what to do when you run out of money on your IC card, what transfers are like and why sometimes finding the correct station exit is a bigger problem than finding the right train.

How does transport in Tokyo work, and why are there so many operators?
The first thing worth understanding before coming to Tokyo is this: there is no single operator responsible for the entire rail transport system. From the perspective of someone visiting for the first time, this seems a little strange, because all these trains are used for the same thing, getting around the city.
The reason is mainly historical. The first section of the Tokyo subway, and also the first in Asia, opened in 1927 between Asakusa and Ueno. The network was later expanded by successive entities, and in 1941 the Teito Rapid Transit Authority was established, which only became today’s Tokyo Metro in 2004.
Tokyo Metro currently operates 9 lines and 180 stations. Alongside it, there is Toei Subway, run by the Tokyo metropolitan authorities, while above ground a large share of the traffic is handled by JR East. JR operates, among others, the Yamanote Line, which you will get to know very quickly during your first stay because it loops through many of the city’s most important areas. JR East itself is a huge railway company, currently managing 69 lines and more than 7,400 kilometres of routes in eastern Japan.
And that is not the end of the list. There are also private operators, including Tokyu, Keio, Odakyu and Tobu, which connect the centre with more distant parts of the metropolitan area. So when you look at a map of Tokyo, you see more several railway systems layered on top of one another than one subway network.
Fortunately, as a tourist you do not have to wonder every time who owns the tracks your train is travelling on. Some lines even offer so-called through service, meaning that the train continues onto another operator’s network without you having to get off. Tokyo Metro has these connections on 7 of its 9 lines.
In practice, it is much more important to check Google Maps, confirm the line name and platform number, and tap your Suica or PASMO at the gate. The system will calculate the fare itself, even if you change operators along the way.
Suica, PASMO and IC cards
If you are going to Tokyo for the first time, you will very quickly come across the names Suica and PASMO. Both are IC cards, meaning prepaid contactless cards used mainly for public transport. The principle is simple: you tap the card when entering the station, tap it again when leaving, and the system calculates the fare and charges the appropriate amount. You do not have to buy a ticket every time or work out in advance exactly how much a particular journey costs.
Suica is associated with JR East, while PASMO is associated with private operators, the subway and buses in the Tokyo area. From a tourist’s point of view, the difference is small, because both cards are widely accepted in the same places. There are also other regional IC cards, such as ICOCA in Kansai and TOICA in central Japan. Many of these systems work with one another, so a card bought in Tokyo may also work later in other cities.
We started with a physical Welcome Suica, a version intended for tourists. This card is valid for 28 days and does not require a deposit. Later I gave one to Jadzia, while I switched to Suica in the Wallet app on my iPhone. This is definitely the more convenient option if you use Apple Pay. You tap your phone at the gate exactly as you would a physical card, and you can top up the balance without looking for a machine or cash.
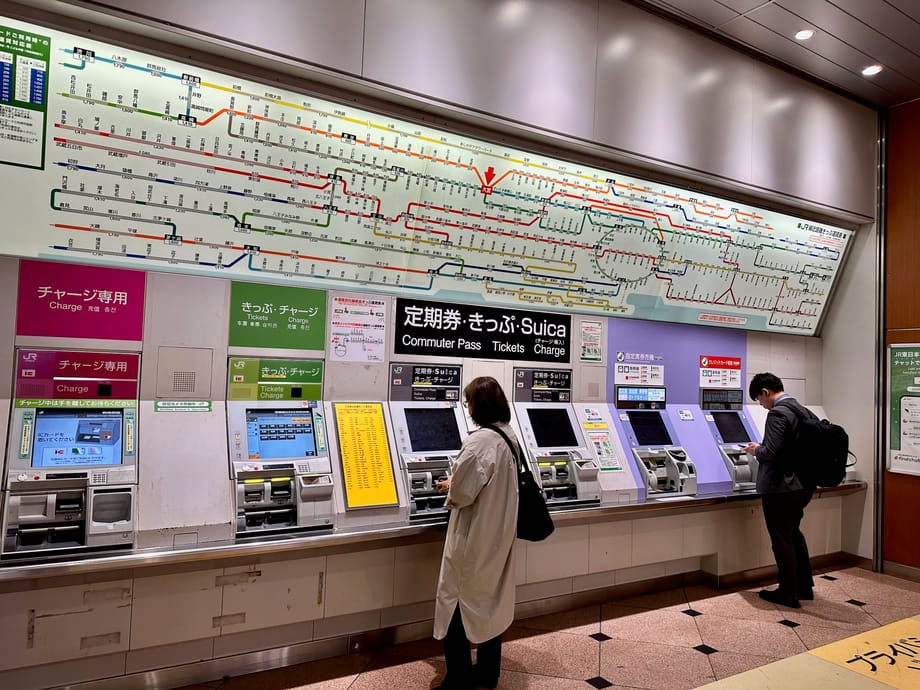
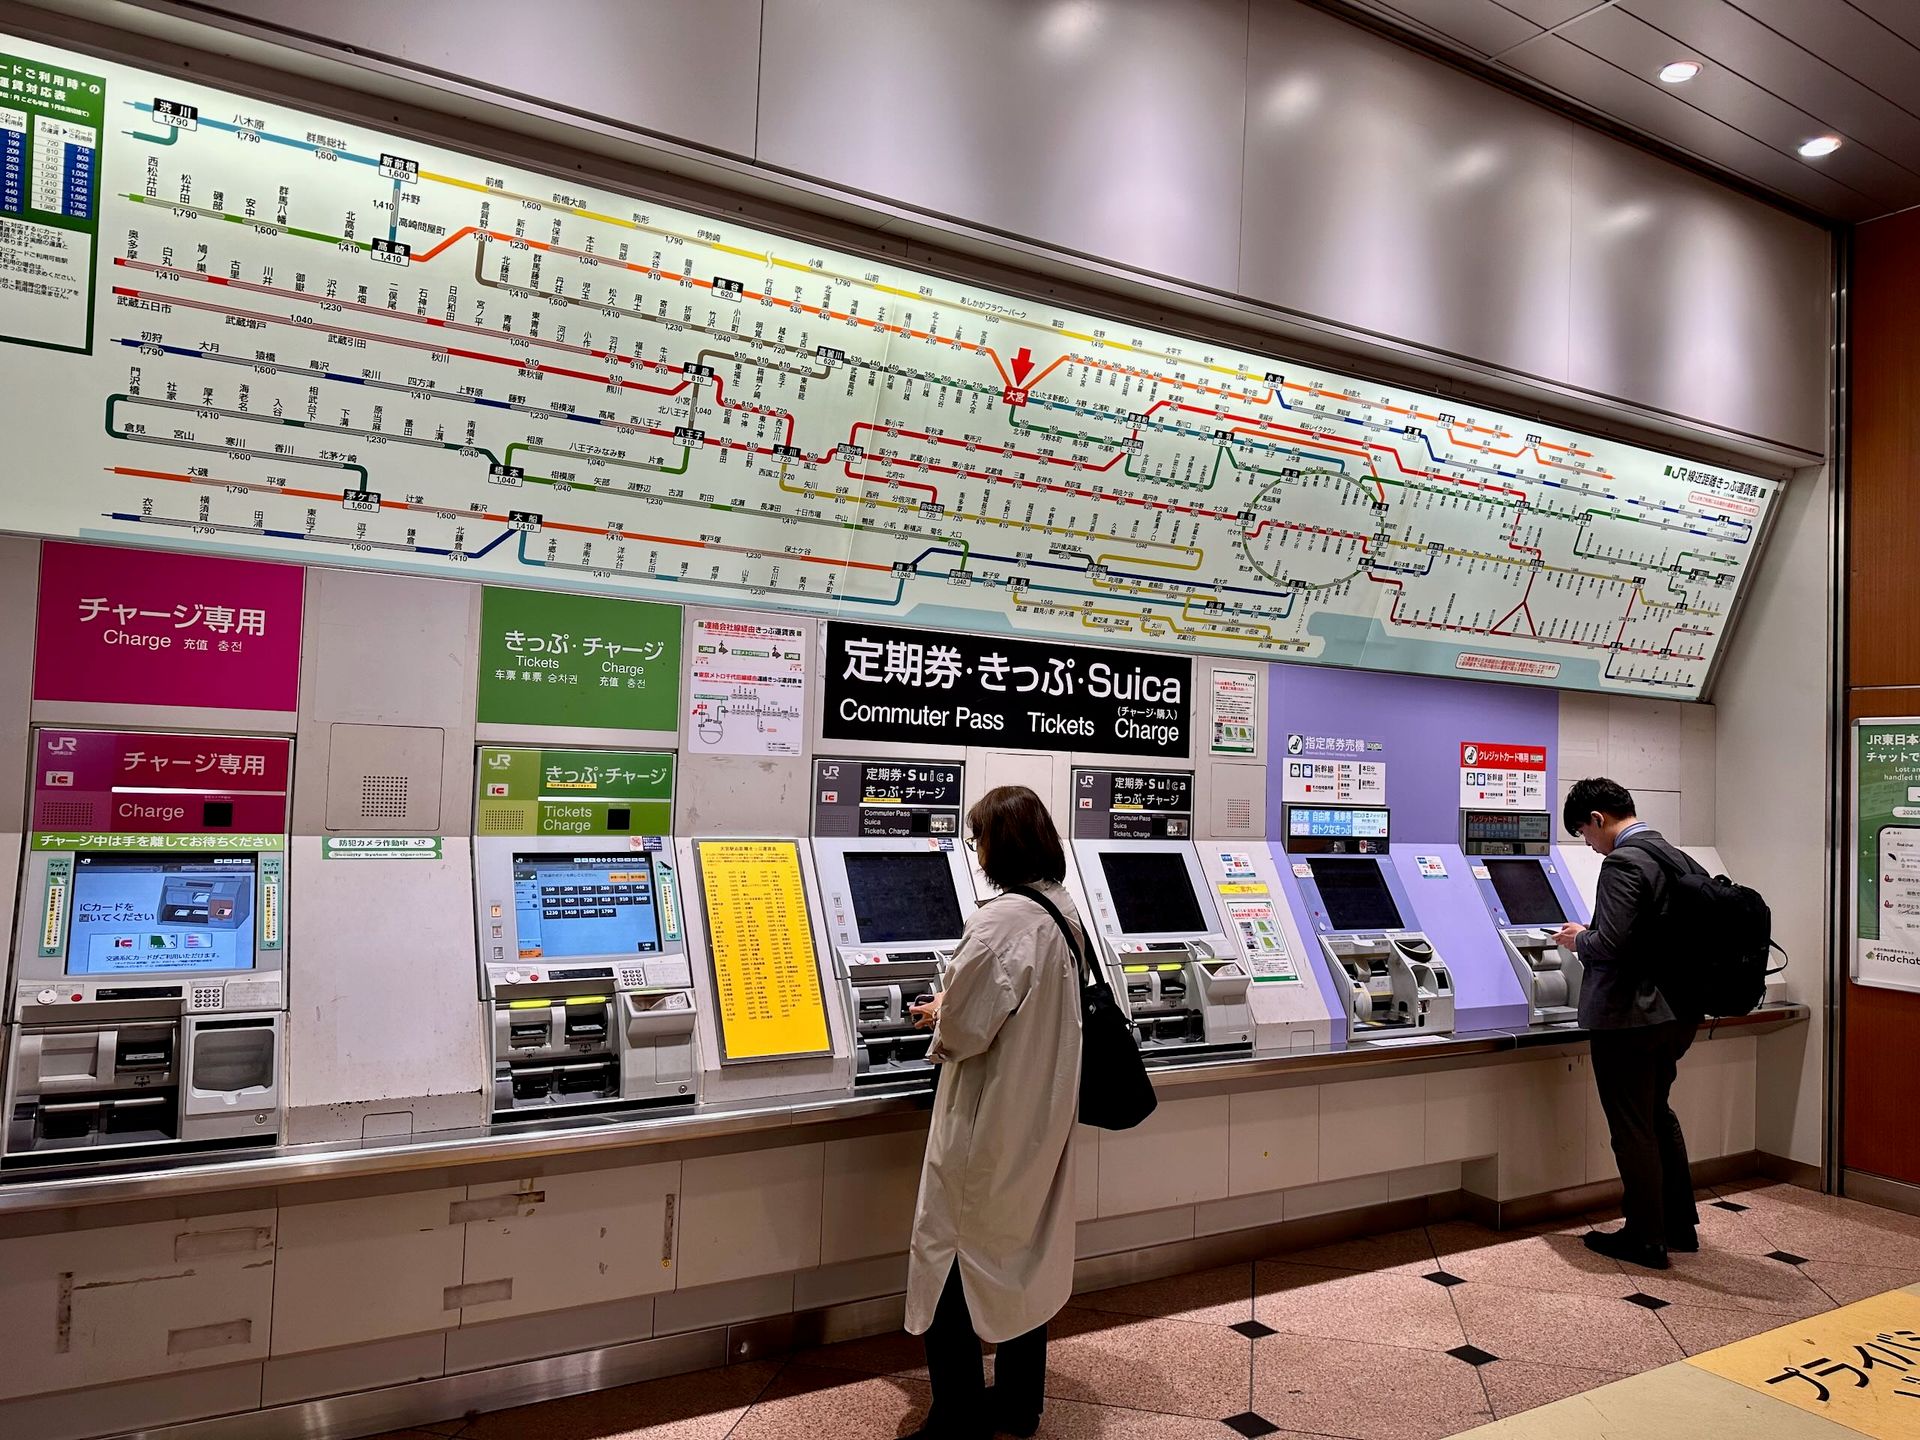
That last point matters because physical IC cards still have a rather archaic drawback: topping them up at stations is very often done with cash. If you misjudge your balance, arrive at your destination and find out at the gate that you are short by a few hundred yen, your payment card may not be much help. This happened to us twice or so, and we ended up looking for cash just to be able to leave the ticketed area. With Suica on the iPhone, the problem practically disappears because you can top it up from Wallet in a few seconds.
IC cards are not used only for transport, either. You can also pay with Suica or PASMO in many shops, vending machines, konbini and other service outlets. After a few days, it is easy to start treating it as an extra payment card for small expenses, especially since it works very quickly and you do not have to take out your regular bank card every time.
Just remember that an IC card does not replace every type of train ticket in Japan. It works very well for regular journeys around Tokyo, but Shinkansen trains, some Limited Express trains and journeys requiring seat reservations involve separate tickets or additional fees. Suica or PASMO therefore takes care of everyday transport, but it is not a universal ticket for the whole of Japan.

Single tickets or an IC card?
Single tickets in Tokyo are still normally available and can be bought from machines at every Tokyo Metro station. The price depends on the length of the journey. For example, on Tokyo Metro, a regular ticket currently costs between 180 and 330 yen, depending on the distance. With an IC card, the fare is calculated more precisely, down to the individual yen, so the same journey may work out slightly cheaper. On the shortest route it would be 178 instead of 180 yen, and on a longer one 324 instead of 330.
These are obviously not savings worth doing a PhD in fares for. The main difference is convenience. With a single ticket, you first have to check the fare, buy the right ticket and then keep track of it until you leave the station. With Suica or PASMO, you tap the card when entering, tap it again when leaving, and the system calculates the correct amount itself.
For ordinary sightseeing, we would not even consider paper tickets. With several journeys a day, an IC card simply saves time and eliminates the need to work out fares. Especially since in Tokyo you might use Tokyo Metro one day, then JR, and later a line run by another operator.
Since 2026, there has also been another option that was not available during our trip: Tap to Ride on Tokyo Metro. At supported gates, you can tap a contactless Visa, Mastercard, JCB, American Express or several other cards directly, or use a phone with one of those cards. The fare is then the same as for a regular ticket, so there is no small IC-card discount.
Tokyo Subway Ticket for 24, 48 and 72 hours
If you are planning to use the subway a lot during your stay, it is worth checking the Tokyo Subway Ticket. This time-limited ticket covers all Tokyo Metro and Toei Subway lines for 24, 48 or 72 hours from the start of use. It does not cover JR lines, however, so it is not a pass for all transport in Tokyo.
The adult prices are as follows:
- 24 hours: 1000 JPY
- 48 hours: 1500 JPY
- 72 hours: 2000 JPY
One important detail: the 24, 48 or 72 hours start counting from the first use, not until the end of the calendar day. So if you activate a 72-hour ticket on Tuesday at 3:00 p.m., it will work until Friday at 3:00 p.m. That makes much more sense than a traditional “three-day” ticket.
Is it worth it? Tokyo Metro gives a fairly simple rule of thumb. With the 24-hour ticket, it starts to make sense at around 6 journeys, with the 48-hour ticket at around 5 per day, and with the 72-hour ticket at around 4 per day.
The issue of operators comes back here, though. If your plans for the day are mainly based around Tokyo Metro and Toei, this ticket may make quite a lot of sense. But if you are mixing the subway with JR, private railways and walking, Suica or PASMO will simply be more convenient. You will not have to wonder whether a particular line is covered by the ticket.
How to read lines, stations and exit numbers
Tokyo’s transport map looks complicated at first, but once you are there, it quickly turns out that the signs are quite logical. You do not need to memorise the entire network or learn the names of every line. Just pay attention to a few things that are repeated practically everywhere: the line colour, its letter code, the station number, the direction of travel and the exit number.
The colour, letter and station number
Tokyo Metro and Toei use station numbering, which makes life much easier for people who do not know Japanese. Each line has its own colour and letter, and each station on it also has a number.
For example, the Shinjuku Line is marked with S, so the following stations are labelled S01, S02, S03 and so on. The Ginza Line uses the letter G, the Hibiya Line uses H, and the Marunouchi Line uses M. Tokyo Metro itself points out that this system helps you check not only the correct line, but also the number of stations to your destination and the direction of travel.
This is especially convenient when the station name does not tell you much. If you are at S14 and want to get to S09, it is immediately clear that you need to travel in the direction of decreasing numbers. You do not even have to remember the name of the line’s final station.
JR East has a similar system on its lines in the Tokyo area. There, the signs usually consist of two letters and a number, for example JY for the Yamanote Line. The numbering was introduced specifically to make the system easier to read for people from abroad as well.

How to check the direction and the correct platform
At the station, look for the sign for your line and then the direction of travel. The boards usually show the platform number, several main stations in that direction and the numbers of the following stops. Tokyo Metro uses the same signs at entrances, in corridors, on platforms and on maps, so it is difficult to suddenly find yourself in a system that looks completely different.
For the regular subway, this is enough. Railway lines require more attention, because you may encounter Local, Rapid, Express trains or other variants that stop at different numbers of stations. The fact that a train is going in the right direction does not always mean that it will stop exactly where you want to get off.
That is why, before getting on, we mainly looked at the line name, direction, train type and platform number. Google Maps gives you this information very well, but we will come back to that separately.

Station exit numbers
This is probably one of the most useful things to remember before your first trip.
At a small station, the exit does not make much difference. At a large one, it can make a huge difference. Tokyo stations have marked exits, such as A1, A2, B5 or C3, and the relevant numbers are shown on signs before you leave the ticketed area. Tokyo Metro uses yellow signs to guide passengers towards the exits.
It really is worth checking the number shown by Google Maps. Leaving a large station on the wrong side can mean an extra walk, crossing a huge intersection or looking for a way to get to the other side of the tracks.
At some stations, the difference between two exits is not a few dozen metres but several blocks. Simply saying “we are getting off at Shinjuku” does not tell you very much.


A transfer does not always mean moving to the adjacent platform
In Tokyo, lines operated by different companies may use the same station name, with platforms located on different levels or in separate parts of the complex.
Sometimes a transfer means nothing more than walking up some stairs. At other times, you have to walk through a long corridor or pass through another set of gates. Tokyo Metro even has special orange transfer gates at some stations, where changing lines formally means leaving one part of the system and entering another. This is how it works at Ueno, Otemachi, Shibuya and Shinjuku-sanchome, among others.
That is why it is worth taking the transfer time shown in the app seriously. If Google Maps gives you eight minutes, it does not always mean eight minutes of calmly standing on the platform. Some of that time may be spent simply walking through the station.
Screens and signs on trains
Once you are on the train, you continue to get plenty of information. The screens above the doors show the next station, its number, possible transfers, the direction of travel and sometimes the expected time to the following stops.
The information is often displayed in Japanese and English, and in many places also in Chinese and Korean. If there are problems on the network, the screens may also show messages about delays or disruptions on other lines.

Rush hours and rules on trains
Tokyo has a reputation as a city where people are literally pushed into trains, but during ordinary sightseeing you do not have to fight for space in the carriage every day. The biggest crowds obviously occur during the commute to work and school, especially in the morning. Tokyo Metro defines the morning rush as roughly the period from the first trains until around 9:30, although the exact times depend on the line. In the evening, things get crowded again when people return from work.
If possible, we would not plan a journey with a large suitcase at those times. When the carriage is full, the problem is not just standing, but trying to get on, get off and move your luggage through the crowd. Tokyo Metro also asks passengers to hold backpacks and larger pieces of luggage so that they do not get in other people’s way, and people standing by the doors should briefly get off if they are blocking passengers leaving the carriage.
Boarding itself is very orderly. On the platform, you usually stand at the marked door positions and wait in line. Everyone gets off first, and only then do people start boarding. When it is busy, this rule really makes sense, because otherwise the whole system would quickly become blocked.
The carriages are also noticeably quieter than in many European cities. Phones are put on silent mode, and phone calls are frowned upon. No one will throw you off the train for talking to someone next to you, of course, but loud behaviour, playing sound from your phone or headphones that can be heard half a carriage away definitely stands out from local habits.
On some lines, you will also find women-only carriages during the morning rush hour. They are clearly marked on the platform and on the carriage itself. They do not operate all day or on every line, and the hours depend on the particular route. On Tokyo Metro, these carriages operate on the Hibiya, Tozai, Chiyoda, Yurakucho, Hanzomon and Fukutoshin lines, among others, usually until around 9:00 or 9:30. Small children, people with disabilities and their carers may also use them.
There are also regular priority seats for older people, people with disabilities, pregnant women and passengers with small children. If you see the distinctive Maternity Mark, it indicates a pregnant woman whose condition may not yet be visible.
Getting from the airport
Tokyo is served by two large airports: Haneda (HND) and Narita (NRT). If you have a choice when buying your ticket, it is worth paying attention to this because the difference in getting to the city is significant. Haneda is right next to the metropolitan area, while Narita is clearly outside Tokyo and takes longer to reach.
We flew into Haneda, and we really appreciated it on our first trip. After a long flight, we did not have to add more than an hour of travel from an airport far from the city.
From Haneda, you will most often choose between the Keikyu Line and the Tokyo Monorail. Keikyu runs towards Shinagawa, where you can easily change to JR, among other options. From Terminal 3 to Shinagawa, the fastest connections take around a dozen minutes. Keikyu gives the journey from the airport to Shinagawa as approximately 14 minutes. Some trains then continue directly towards the centre and connect with the Toei Asakusa Line network, so you do not always have to get off at Shinagawa.
The second option is the Tokyo Monorail, which terminates at Hamamatsucho. There, you can change to the Yamanote Line, among others, and continue towards Tokyo Station, Ueno, Shibuya or Shinjuku. There is no single answer as to which option is better. It mainly depends on where you are staying. So instead of automatically buying a particular ticket, we would simply enter the hotel address into Google Maps and check whether Keikyu or the Monorail makes more sense that day.
You can use Suica or PASMO normally on both routes, so if you already have an IC card on your phone, you do not have to start your stay by analysing another type of ticket.
The situation is different with Narita, because the distance is much greater. The two most important rail options are the Keisei Skyliner and JR Narita Express. The Skyliner mainly runs to Nippori and Keisei-Ueno, and the fastest journey from Terminals 2/3 to Nippori takes around 36 minutes. A standard ticket to Ueno or Nippori currently costs around 2470 JPY, although cheaper tickets bought online are also available.
Narita Express, or N’EX, runs directly to Tokyo Station, Shinagawa, Shibuya and Shinjuku, among other places. This may be more convenient if you are staying in that part of the city and do not want to change trains with suitcases. A journey to Tokyo Station currently costs 3140 JPY, and to Shibuya or Shinjuku 3330 JPY.
There are also cheaper regular Keisei trains and buses at Narita, so you do not necessarily have to use an express service. When choosing, however, I would consider not only the price but also the number of transfers. After more than a dozen hours of travelling, saving a few hundred yen may not make much sense if it means dragging your suitcase through three different stations.


Buses in Tokyo
Buses in Tokyo are somewhat overshadowed by rail and the subway, but in some places they can be more convenient than making a transfer just to travel a few kilometres. We used them much less often than trains, but it is good to know how they work because the rules are slightly different from those on the subway.
The most important thing is that Toei buses within Tokyo’s 23 wards have a flat fare. A regular adult ticket currently costs 210 JPY, regardless of the length of the route. You can pay with cash or an IC card, meaning Suica or PASMO.
On most Toei buses, you board through the front doors and pay the driver straight away. If you have a Suica or PASMO, simply tap the card on the reader. When paying in cash, it is best to have coins or a 1000 JPY note, because the machine does not accept larger notes. You can also top up an IC card with the driver, but only with a 1000 JPY note.
Before boarding, it is worth checking the line number and direction because several different buses may stop at the same stop. The next stops are announced on board and shown on the screens. When you are approaching yours, press the STOP button, and you usually get off through the rear doors.
